Watch me work
|
Stage 1.
After I’ve cut the paper down to size, I give the composition a 2cm border, with a 4cm bottom line. This size will be up-scaled from the reference photo which helps massively when it comes to getting the scale of the drawing correct. I start by putting a quick and very loose outline down with a HB pencil. Once I’m happy with the initial outline, I begin by making harsher lines for the eyes, nose and mouth area. I find these features of the drawing are very important, so I spend more time on getting the proportions right here. |
work in progress 1
|
|
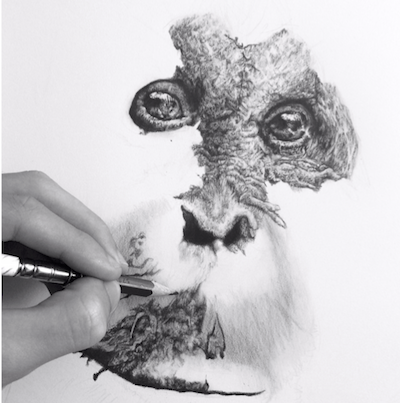
Stage 2.
I couldn't say I have a particular part of the piece I start on, but more often than not, I begin with the eyes, as these are one of the most important parts of the drawing for me. I start working outwards from the starting point, taking great care with details, already using a putty rubber, picking out highlights. By now I have decided where the light source will come from, and I have a habit of writing notes on my work, direction of light, dark tones, light tones, etc., still in the mapping out process. |
work in progress 2
|
|
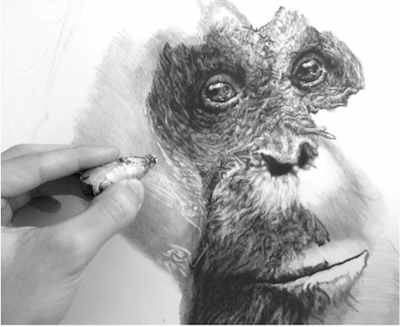
Stage 3.
I like to draw in stages, especially on bigger pieces like this one, as it can sometimes be overwhelming and you can easily lose you way in detail. Blocking out a section helps with this. Now the tone is down and I have added a few highlights with the putty rubber, I can begin with the detail, always having in mind the direction of the light source. To get darker tones, I begin layering the graphite from the lightest tone to as dark as I need, and already this far into the piece, I have gone as dark as 9B. You can also start darkest tone to lightest, but be sure to layer the graphite, as this helps to create more depth in your work. |
work in progress 3
|
|
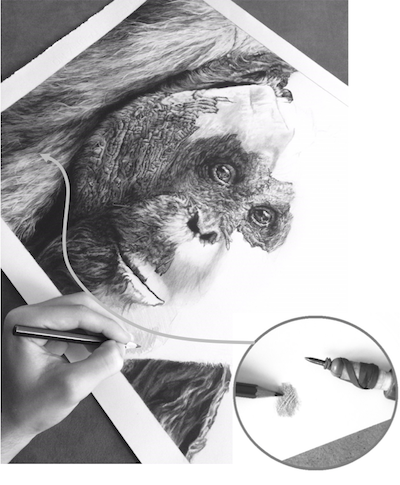
Stage 4.
Fur and indentation. Indentation is a big part of my work and it helps me massively when it comes to adding texture in the skin and fur of the orangutan. I use a dart to scratch / indent the paper. The pencil can no longer sit inside of the indentation, leaving the white lines free of any tone. One of the problems I’ve found using the indentation technique is that you cannot see what you are doing when indenting the paper. Which can be annoying if you have a 5 minute break, having no idea what you’ve worked on! This is one of the main reasons I like to work in small sections at a time also. Once all the indentation is down, I can then start adding the tone in layers, closely looking at where the light is hitting the fur. |
work in progress 4
|
Follow this link to see video of me working on this drawing: https://www.facebook.com/jordanpriceart/videos/1485098661555325/
THE Finished Piece!
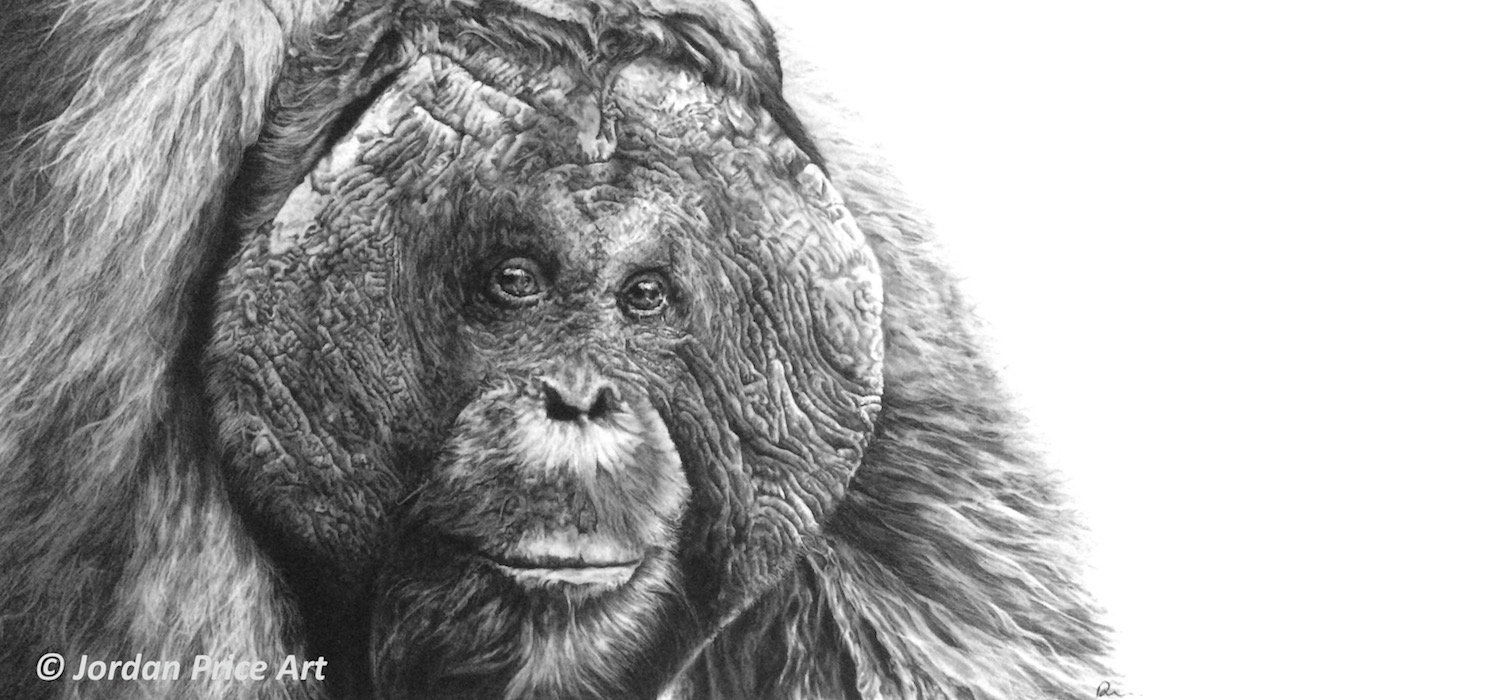
The Elder